Capturing breathtaking photos while hiking can sometimes feel like a challenging balancing act. Believe me, I understand the struggle of figuring out how to carry hefty photography gear all while meeting the physical demands of a trail.
After years brimming with trial and error, coupled with thorough research, I’ve gathered 7 invaluable tips that will enrich your hiking photography experience without sacrificing one bit of your adventurous spirit.
So, are you ready to transform your scenic hikes into mesmerizing photo collections?.
Key Takeaways
- Choose lightweight backpacking gear to make room for your camera kit and have more energy for capturing amazing shots.
- Don’t buy a “photography backpack” as they can be heavy; instead, use a regular hiking bag with light padding inside and smaller bags for organizing your camera gear.
- Bring lightweight cameras, wide – angle lenses, filters, power banks, SD cards, GoPros or drones, and tripods to ensure you’re ready for anything on the trail.
- Increase efficiency by conserving battery power, focusing on enjoying the hike rather than constantly thinking about taking photos, picking strategic camp spots, staying active during weekdays as well as weekends,
What Gear to Bring for Hiking Photography
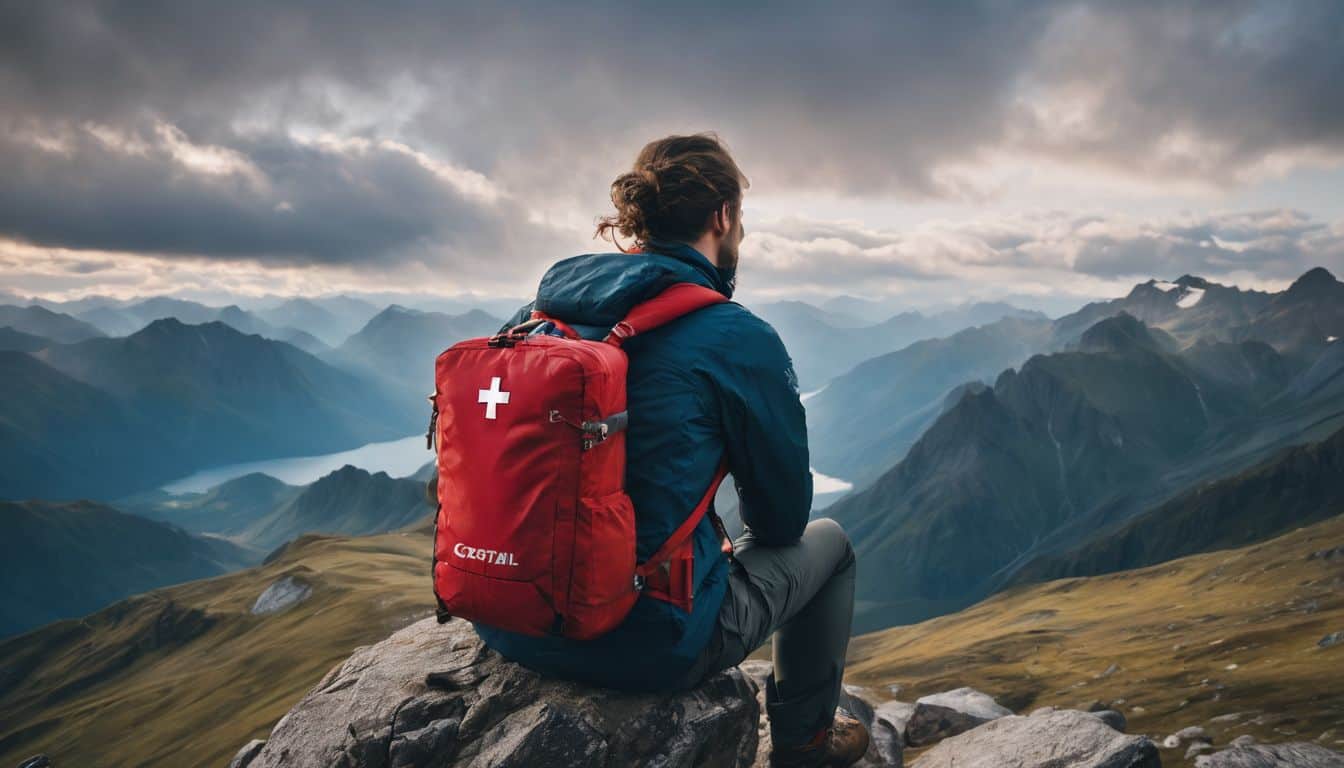
When going hiking for photography, it’s important to choose lightweight backpacking gear and avoid buying a “photography backpack.” Additionally, make sure to bring the best camera gear suitable for hiking.
Choose lightweight backpacking gear
Lightweight backpacking gear is a must for hiking photography. The less weight you carry, the more room you have for your camera kit. And let’s not forget more energy to focus on capturing amazing shots! Gear like TrailPix can make packing easier.
This tool is great for carrying photo or video gear when on long trips. It makes sure that my compact camera and extra lenses fit snugly with other essential items in my bag. So, always opt for light but durable hiking equipment – it ups your game in both hiking and photography!
Don’t buy a “photography backpack”
You might think a photography backpack is the best way to carry your camera gear. But it’s not always a good fit for hiking. Many of them are heavy. They add extra weight to your hike.
Instead of a photography backpack, try another option. Use a regular hiking bag with light padding inside. You can place your camera and any other tools you need in it. Also, using smaller bags within the main bag helps keep things tidy and safe like lenses and chargers.
This method makes sure your stuff is secure without adding much weight to your load. It also makes it easy to find what you need without having to dig around in one big compartment! So next time you’re packing for an outdoor photo shoot, remember to keep things simple and light by leaving that bulky photography backpack at home!
Best camera gear for hiking
I’m a hiking lover, just like you. I love to take photos of my trips. Over time, I learned what the best camera gear for hiking is. Here’s a list I made:
- First off, bring lightweight cameras with you. They won’t weigh your bag down.
- Go for wide – angle lenses. They help you get whole views of stunning landscapes.
- Pack in filters so you can adapt to any light situation.
- Don’t forget power banks and SD cards! It’s no fun when your camera dies or runs out of space mid-hike.
- Add GoPros and drones to your pack if you want some action shots or bird’s eye views.
- Tripods are also good to add in your bag, they help keep pictures steady.
Tips to Increase Efficiency and Quality
Increase efficiency and quality by learning how to double the life of your batteries, avoiding thinking about taking photos while hiking, picking strategic camp spots, not being a “weekend warrior”, finding a friend who is also a photographer to hike with, mastering your camera before backpacking, choosing destinations that aren’t popular hotspots, and using Google Earth for planning.
Learn how to double the life of your batteries
One of the best ways to double the life of your batteries is by being conservative with their usage. Turning off your camera completely, even when the battery is low, can help conserve power.
Lowering the brightness level of the LCD screen also helps save energy. By learning how to conserve battery power, you can extend their lifespan and reduce the need for carrying extra ones on your hikes.
So remember, conserving battery power means longer-lasting batteries and more time for capturing those amazing hiking photos!
Don’t think about taking photos while hiking
When you’re out hiking and want to capture those beautiful moments, it’s natural to want to take photos. However, my tip for improving efficiency and quality is not to think about taking photos while hiking.
Instead, focus on enjoying the hike itself and being present in the moment. It can be challenging to fully immerse yourself in the experience if you’re constantly distracted by trying to find the perfect shot.
By letting go of that pressure, you can truly appreciate your surroundings and have a more enjoyable hiking experience overall. So put down the camera for a while and just embrace the beauty of nature around you – trust me, it’ll make a difference!
Avoid being a ‘weekend warrior’
As a hiking enthusiast, it’s important to avoid being a “weekend warrior” if you want to increase efficiency and quality. Instead of only hiking on the weekends, try to incorporate physical activity into your weekdays as well.
This could include taking short walks during lunch breaks or doing some exercises at home. By staying active consistently, you can improve your performance and overall wellbeing while hiking.
Additionally, finding a friend to hike with can provide social support and make the experience more enjoyable. Remember to start slow and gradually progress towards more challenging hikes.
Pick strategic camp spots
When you’re out hiking and camping, it’s important to choose your camp spots wisely. Picking strategic locations can make a big difference in the overall efficiency and quality of your experience.
Consider factors like accessibility, terrain, and proximity to water sources when selecting your campsite. Look for areas that provide shelter from wind or rain, as well as places with beautiful views or interesting natural features nearby.
By picking strategic camp spots, you can enhance your enjoyment of the outdoors and make the most out of your hiking adventure.
Don’t be a lazy backpacker or photographer
Being a lazy backpacker or photographer won’t help you get the best hiking photography experience. It’s important to be proactive and efficient in your approach. By staying focused, managing your time effectively, and paying attention to detail, you can greatly enhance the quality of your photos.
Take the time to master your camera before hitting the trails and choose destinations that are not overcrowded with photographers. Don’t forget to plan ahead using tools like Google Earth for scouting locations.
Lastly, find a hiking partner who is also passionate about photography – it’s always more fun to share the experience with someone who understands your love for capturing beautiful moments in nature!
Find a friend to hike with that’s a photographer
Having a friend who is also a photographer can make your hiking photography even better. They can offer tips and guidance on how to take amazing photos while hiking. They will know the best photo locations and hikes, so you can capture stunning images.
Plus, they can give you advice on composition and recommend the right equipment for hiking photography. Hiking with a photographer friend will not only be fun but also result in more visually appealing photos that you can be proud of.
So, if you want to improve your hiking photography skills, find a friend who loves both hiking and taking pictures!
Master your camera before backpacking
Before you go hiking, it’s really important to know how to use your camera well. Imagine reaching a beautiful spot and not being able to capture it properly because you don’t know what settings to use.
That would be such a bummer! So, take the time to practice and learn about your camera before your backpacking trip. It will make a huge difference in the quality of your photos. Plus, don’t forget to invest in a comfortable and durable camera bag to protect your gear while you hike.
Backpack into areas that aren’t “hotspots”
When backpacking for hiking photography, it’s best to explore areas that aren’t popular tourist destinations. These non-hotspot locations often offer unique landscapes and hidden gems that can make for stunning photographs.
Plus, you’ll have more freedom and space to capture the beauty of nature without crowds of people in your shots. So instead of following the typical tourist routes, venture off the beaten path and discover lesser-known trails and scenic spots that will provide you with amazing photo opportunities.
Choose destinations like a pro
When it comes to choosing destinations for hiking photography, there are a few tips that can help you select like a pro. First, consider going off the beaten path and exploring areas that aren’t popular tourist hotspots.
This will give you a unique perspective and allow you to capture untouched natural beauty. Secondly, utilize resources like Google Earth for planning your hikes. It can give you an aerial view of potential photo spots and help you find hidden gems.
Lastly, consider reaching out to fellow photographers who are also hikers. They may have insider knowledge on lesser-known trails or picturesque locations that will make for stunning photographs.
Use Google Earth for planning
When planning your next hiking photography adventure, Google Earth can be a valuable tool. It provides satellite imagery that allows you to scout locations and plan your landscape shooting trips with ease.
Whether you’re looking to capture the milky way or stunning sunrises and sunsets, Google Earth can help you find the perfect spots.
Not only is it useful for photography planning, but it also comes in handy for wilderness trip planning. You can use Google Earth to navigate unfamiliar areas on foot and even find fuel-efficient routes if you’re driving to your destination.
Guide on Hiking Photography Tips
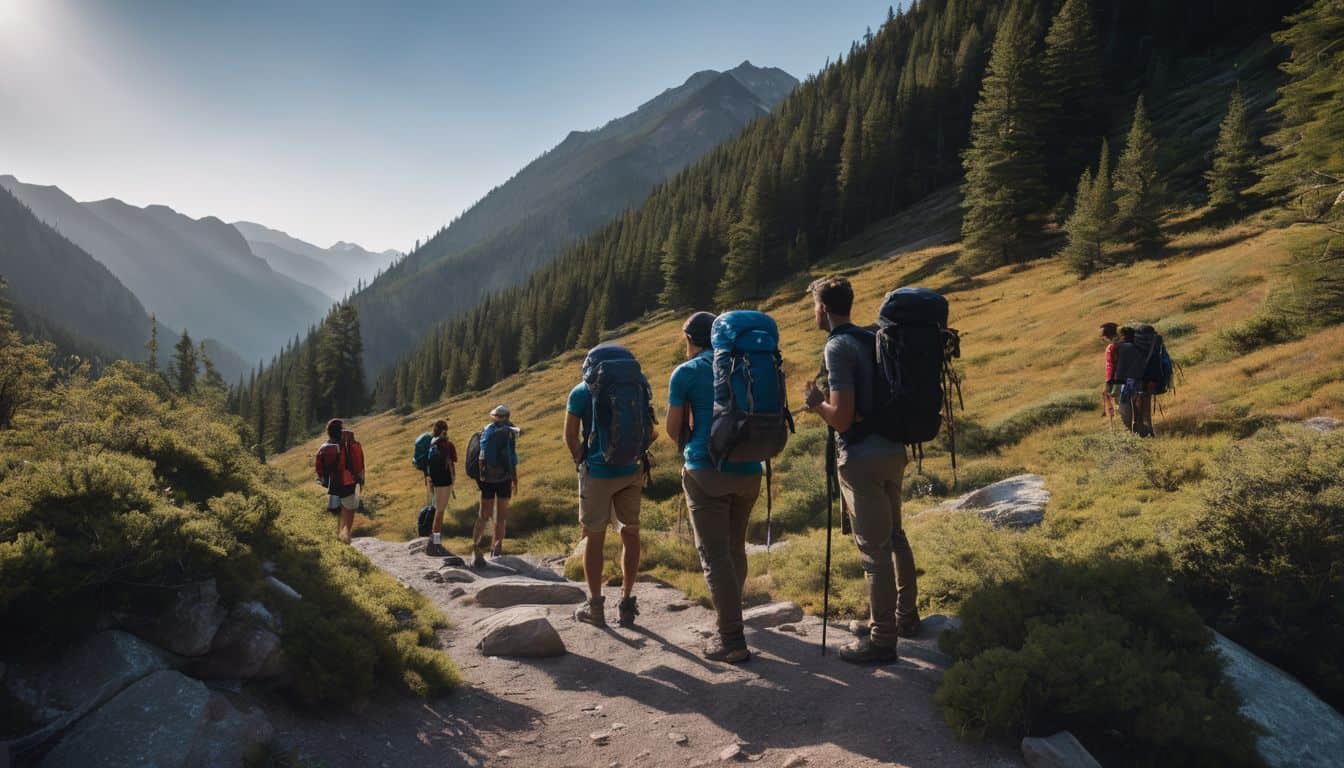
As a hiking enthusiast, I know how important it is to capture those beautiful moments on the trail. That’s why I want to share with you my guide on hiking photography tips. These tips will help you take stunning photos while enjoying your hike.
Firstly, it’s essential to have the right gear for hiking photography. Choose lightweight backpacking gear that won’t weigh you down on the trail. Don’t feel like you need to buy a fancy “photography backpack” – any comfortable backpack will do.
As for camera gear, opt for a camera that suits your level of expertise and fits easily into your backpack.
Next, learn some efficiency tips to make the most out of your photography experience. Double the life of your batteries by keeping them warm in cold weather and carrying extras if needed.
When you’re hiking, focus solely on enjoying your surroundings rather than constantly thinking about taking photos. Pick strategic camp spots where you can wake up to stunning views or interesting subjects for photographs.
Another helpful tip is finding a friend who shares your passion for hiking and photography. They can provide valuable insights and inspiration during your adventures together. Additionally, mastering your camera before heading out onto the trail will ensure that you’re ready to capture those perfect shots when they present themselves.
Lastly, consider venturing off the beaten path when choosing destinations for hikes and photo opportunities. Explore lesser-known areas instead of popular tourist hotspots – this way, you’ll have unique images that stand out from others’.
Use tools like Google Earth to plan routes and scout potential locations beforehand.
With these tips in mind, get ready to embark on an incredible journey filled with breathtaking landscapes and captivating photos!
How To Take Better Photos When Hiking
To take better photos while hiking, it’s important to know your camera and use a third-party camera app for more control over settings. Additionally, using the rule of thirds, leading lines, and incorporating foreground, middle ground, and background elements can enhance your composition.
Don’t be afraid to change your perspective or add camera accessories for creative effects. After capturing your shots, editing them can make a big difference in the final result. Lastly, adding motion can bring life to your hiking photos.
Know your camera
When it comes to taking better photos while hiking, one important tip is to know your camera inside and out. Take the time to familiarize yourself with all its functions and features.
Understand how to adjust settings like exposure, focus, and white balance. This will give you more control over your shots and allow you to capture the beauty of nature in the best possible way.
So before heading out on a hike, make sure you have a good grasp of your camera’s technical knowledge.
Use a third-party camera app
Using a third-party camera app can greatly enhance the quality of photos you take while hiking. These apps offer additional features and settings that can improve your photography results.
They often have more advanced manual controls, allowing you to adjust settings like ISO, shutter speed, and white balance. By using a third-party camera app, you have more control over how your photos turn out and can capture stunning shots even in challenging lighting conditions.
So, before heading out on your next hike, make sure to download a reliable third-party camera app and explore its features to elevate your hiking photography game.
Use the Rule of Thirds
When taking photos while hiking, one important tip is to use the rule of thirds. This means dividing your image into nine equal parts by imagining two vertical lines and two horizontal lines.
The four intersection points where these lines meet are strong focal points for placing important elements in your photo. By placing these elements off-center, you can create a more dynamic and interesting composition.
This technique is especially useful in landscape photography as it helps highlight foreground, middle ground, and background elements, creating a sense of depth and perspective in your images.
Make use of leading lines
When taking photos while hiking, it’s important to make use of leading lines. Leading lines are objects or elements in a photo that draw the viewer’s attention to a specific subject or object.
They can be things like paths, trails, rivers, fences, or even the natural lines created by the landscape itself. By incorporating leading lines into your hiking photography, you can create depth and movement in your photos.
These lines help guide the viewer’s eye through the image and add interest to your composition. They can also emphasize the scale and grandeur of the natural surroundings around you when you’re out on a hike.
Use the foreground, middle ground and background
When taking photos while hiking, it’s important to use the foreground, middle ground, and background to add depth and dimension. By placing objects like plants or rocks in the foreground, you can create a sense of distance and make your photos more visually interesting.
This technique is commonly used in landscape and wildlife photography to enhance composition and capture stunning images. So next time you’re out on a hike with your camera, remember to consider the foreground, middle ground, and background to create more captivating photos.
Change your perspective
Changing your perspective is a great way to make your hiking photos stand out. By altering your viewpoint and trying different angles, you can add depth and dimension to your pictures.
Instead of always shooting at eye level, get creative and experiment with unique perspectives that others might not think of.
One technique you can try is including foreground elements in your shots. This could be rocks, plants, or anything else that adds visual interest to the image. By having something in the foreground, you create layers in the photo which gives it more depth.
Another tip is to get up close to your subject. This allows you to capture details and textures that might otherwise go unnoticed.
Using leading lines in your composition is another effective way to change your perspective. Look for natural lines such as paths, rivers, or tree branches that can guide the viewer’s gaze through the photo.
Add camera accessories
When it comes to hiking photography, adding camera accessories can really enhance your experience and the quality of your photos. Some essential camera accessories you might want to consider are lens options, camera straps, protective cases, tripods or monopods, and camera cleaning supplies.
These accessories can help you capture different perspectives, keep your gear safe from damage, stabilize your shots for better clarity, and maintain the cleanliness of your equipment.
Investing in these accessories is worth it to ensure that you have everything you need to capture amazing moments while out on the trail.
Edit your photos
Editing your photos is a crucial step in creating stunning hiking images. By adjusting the colors, contrast, and exposure, you can make your photos look even more vibrant and captivating.
You can also crop your images to improve composition and remove any distractions. Don’t be afraid to experiment with different filters or presets to give your photos a unique style.
Remember to save a copy of the original photo before making any edits, so you always have the option to go back if needed. Take some time to learn basic editing techniques and software that are user-friendly and compatible with your camera or smartphone.
Add motion
Adding motion to your hiking photos can make them more dynamic and interesting. One way to do this is by using long exposure techniques, like capturing moving clouds or running water.
This creates a sense of movement in your images and can really bring them to life. Another option is to incorporate subjects that are in motion, such as hikers walking or animals running.
By including these elements, you’ll be able to capture the energy and action of the moment. So don’t be afraid to experiment with different ways of adding motion to your hiking photography for truly captivating results.
Taking Advantage of Natural Light
Capture stunning hiking photos by taking advantage of natural light. Discover how to make the most of sunrise and sunset, utilize bright colors in your composition, find interesting subjects, and shoot in raw for maximum flexibility in post-processing.
Don’t miss out on these essential tips for enhancing your hiking photography skills! Read on to learn more.
Go at sunrise or sunset
For stunning hiking photography, make sure to go at sunrise or sunset. This is when the light is most beautiful and creates a dramatic effect in your photos. Shooting during the golden hour, which is just after sunrise or before sunset, provides soft, golden-toned light that flatters your subjects and reduces harsh shadows.
Plus, if you choose to hike at sunrise, you’ll have a small margin of safety compared to hiking at sunset. Sunrise hikes offer breathtaking moments with low fog and serene natural beauty.
So don’t miss out on capturing these magical moments on your hikes!
Wear bright colors
When hiking and taking outdoor photos, it’s important to wear bright colors. Vibrant hues can help you stand out against the natural scenery, making for more visually striking photos.
Earthy tones are recommended in open natural areas to avoid a crowded feeling. However, when hiking in the fall or in areas with high altitudes, wearing bright and visible colors like orange, yellow, red, and pink is suggested for safety purposes.
These colors make it easier for others on the trail to see you and can be helpful in finding things above timberline or snowline. Additionally, darker colors absorb more heat and may dry faster if you happen to get wet while hiking.
Find a subject of interest
To capture the essence of hiking in your photography, it’s important to find a subject of interest. Look for something or someone that stands out in the natural light, preferably a person.
Having a friend with you can be helpful as they can become the subject and showcase scale in your hiking photos. Whether it’s capturing their joyful expression or showcasing their determination on the trail, finding a subject of interest will add depth and storytelling to your hiking photography journey.
Composition
When it comes to hiking photography, paying attention to composition is key. Composition refers to how elements are arranged within a photo to create balance and visual appeal. One important principle in composition is the rule of thirds, which involves dividing the frame into nine equal parts using two horizontal and two vertical lines.
By placing your subject along these lines or at their intersections, you can create a more visually interesting and dynamic shot.
In hiking photography, natural light plays a crucial role in shaping composition. Different times of day offer different qualities of light that can enhance your photos. For example, shooting during sunrise or sunset provides soft and warm light that can add a magical touch to your images.
It’s also important to consider the direction of light and how it interacts with your subject.
When capturing forest scenes while hiking, adding an element that draws attention can greatly enhance the overall composition. This could be a vibrant flower, an interesting rock formation, or even a person walking on the trail.
Adding this focal point helps guide the viewer’s eye through the image and creates depth.
Shoot in raw
Shooting in raw format is a game-changer for hiking photography. It allows you to capture more data, resulting in better image quality. With raw files, you have more flexibility when it comes to editing your photos.
You can recover highlights and make overall enhancements that bring out the best in your images. So, don’t forget to shoot in raw during your hikes! It’s worth the extra effort and will give you amazing results.
The Smartphone Revolution
Take advantage of the incredible photography capabilities in your pocket! Discover how to use your smartphone to capture stunning hiking photos. Keep reading to unlock the secrets of smartphone photography on the trails.
Use your iPhone
I love using my iPhone for hiking photography because it’s convenient and capable of capturing great shots. The camera performance on iPhones has improved a lot over the years, so you can expect better quality photos.
To get the best results, make sure to know your phone’s camera settings and explore different apps available on the Apple App Store specifically designed for hiking photography. Since you’ll be carrying it with you anyway, taking photos with your iPhone means a lighter load compared to carrying an extra camera gear.
So don’t hesitate to use your iPhone and take stunning pictures while enjoying your hike!
Shop camera bags
When it comes to hiking and photography, having the right gear is essential. And that includes finding a camera bag that suits your needs. As a hiking enthusiast, I understand the importance of a good camera bag that can keep your equipment safe and secure while you’re out on the trails.
That’s why I recommend taking the time to shop for camera bags specifically designed for outdoor adventures.
One important factor to consider when shopping for camera bags is their durability and weather resistance. Look for bags made from high-quality materials that can withstand rugged conditions and protect your gear from rain or dust.
Additionally, consider the size and weight of the bag, as you’ll want something lightweight and comfortable to carry during long hikes.
There are many great options available in different styles and price ranges. Some popular brands include Lowepro, Manfrotto, Vanguard, and Peak Design. You can find camera backpacks with specific compartments for your camera body, lenses, accessories like batteries or memory cards, as well as additional pockets for personal items like water bottles or snacks.
Unexpected Fun: Mixing Glamour with Nature
Experience the unique blend of adventure and elegance as we explore how to incorporate glamour into your hiking photography. Discover stunning locations for adventure elopements and capture breathtaking moments in nature.
Adventure elopements
Adventure elopements are an exciting way to celebrate your love and say “I do” in the great outdoors. Whether you’re a hiking enthusiast or simply want a unique and memorable wedding experience, adventure elopements offer endless possibilities for creating unforgettable moments.
From exchanging vows on breathtaking mountaintops to saying “I love you” surrounded by wildflowers in a remote wilderness, adventure elopements allow you to combine your love for nature with the joy of getting married.
It’s a chance to escape the traditional wedding scene and embark on an intimate journey filled with breathtaking landscapes and shared adventures. So grab your backpack, lace up those hiking boots, and let nature be the backdrop for your special day!
Best Places for Hiking Photography
Discover the stunning landscapes of Europe that will take your hiking photography to new heights.
Best places in Europe
Europe offers some of the most breathtaking and unforgettable hiking experiences. Here are the best places in Europe to satisfy your hiking adventures:
- Trolltunga, Norway
- Kjeragbolten, Norway
- Dolomites, Italy
- Lofoten Islands, Norway
- Alps, Switzerland and Austria
- Picos de Europa, Spain
- Isle of Skye, Scotland
- Cinque Terre, Italy
- Mont Blanc Circuit, France and Italy
- Camino de Santiago, Spain
- Plitvice Lakes National Park, Croatia
- El Caminito del Rey, Spain
Nature captions for Instagram
Taking a stunning photo during your hike is always rewarding, but equally important is finding the perfect caption to share your adventure on Instagram. Here’s a handy list of nature-inspired captions for your Instagram posts, designed to pique your followers’ interest and encourage them to engage with your content.
| Nature Captions for Instagram |
|---|
| “The mountains are calling, and I must go.” |
| “Keep close to nature’s heart.” |
| “Climb the mountain so you can see the world, not so the world can see you.” |
| “Adventure is out there.” |
| “Take only memories, leave only footprints.” |
| “Breathe in the wilderness.” |
| “Embrace the detours.” |
These captions are just a starting point. You can also have fun and get creative by playing with puns, funny hiking quotes, and your personal experiences on the trail. Remember, the goal is to share your love for nature and inspire others to explore the outdoors. However, if you find choosing the right captions challenging, you are not alone. There are readily available lists featuring over 200 fun and inspirational captions, as well as a whopping 800 captions specifically tailored for nature and outdoor posts. These resources are designed to help you find the perfect fit, whether you’re looking for something short and snappy, or a quote that fully encapsulates your adventure. Happy captioning!
Disclaimer
I am not a professional photographer, but I want to share some helpful tips for hiking photography. Remember that these tips may not work for everyone or in every situation. It’s important to experiment and find what works best for you.
Always prioritize safety while hiking and be respectful of the environment. Please note that any outdoor activity comes with risks, so proceed with caution and make informed decisions based on your skill level and experience.
I hope you find these tips useful as you embark on your hiking photography adventures!
Conclusion on Hiking Photography Tips
In conclusion, these 7 hiking photography tips can help you take amazing photos while exploring the great outdoors. By choosing the right gear, mastering your camera, and taking advantage of natural light, you can capture breathtaking images on your hiking adventures.
Whether you’re a beginner or an experienced photographer, implementing these tips will contribute to your growth and improvement in hiking photography. So grab your gear, hit the trails, and start capturing those unforgettable moments!
FAQs on Hiking Photography Tips
1. What are some essential hiking photography tips?
Some essential hiking photography tips include bringing a lightweight and compact camera, using wide-angle lenses for landscape shots, utilizing natural lighting, and composing your photos creatively.
2. How can I capture better landscape photos while hiking?
To capture better landscape photos while hiking, try to include foreground elements for depth, use the rule of thirds for composition, adjust your camera settings to capture details in the highlights and shadows, and experiment with different angles and perspectives.
3. What should I consider when photographing wildlife during a hike?
When photographing wildlife during a hike, it’s important to respect their space and safety by keeping a safe distance. Use zoom or telephoto lenses to get closer shots without disturbing them. Also, be patient and observant to capture unique behaviors or moments.
4. How can I protect my camera gear while hiking?
To protect your camera gear while hiking, invest in a sturdy backpack with padded compartments specifically designed for cameras. Use lens caps and filters to prevent scratches on lenses. Additionally, carry desiccant packs or moisture-resistant cases to protect against humidity or water damage.
5. Are there any post-processing techniques that can enhance my hiking photos?
Yes! In post-processing software like Adobe Lightroom or Photoshop Elements you can adjust exposure levels, white balance and colors; crop or straighten images; apply filters or presets; remove distractions; sharpen details; as well as tone down highlights or boost shadows if needed.

Leave a Reply