Hiking is such an invigorating activity, truly a breath of fresh air – until the wince-inducing sting of a blister hits. Trust me on this one, there’s no faster way to turn that outdoor elation into sheer frustration.
How do I know? Well, let’s just say blisters have called curtains early on my hiking adventures more times than I’m proud to recount. But hey, don’t go packing up your hiking boots just yet! With plenty of personal trials (and even more errors), plus extensive research under my belt, I’ve honed some tried-and-true blister prevention techniques for us all.
So hoist those backpacks and lace up your boots as we journey together through invaluable foot care tips and tactics – believe me, your feet will be singing their thanks!
Key Takeaways
- Wear properly fitting footwear: Make sure your hiking shoes or boots are the right size to prevent blisters and discomfort.
- Keep feet dry and use antiperspirants: Moisture can cause friction and lead to blisters, so wear moisture-wicking socks and apply antiperspirant before hikes.
- Use tape and techniques to prevent blisters: Apply blister prevention tape, such as moleskin tape, to areas prone to blisters. Choose the right taping technique and consider wearing liner socks for added protection.
- Take care of your feet after hikes: Let your feet heal by allowing them time to rest, keeping them clean, moisturized, and properly trimmed.
Understanding Blisters on Hikes
Blisters on hikes are often caused by friction and moisture, leading to painful fluid-filled sacs on the skin.
Causes of blisters
Blisters on your feet can ruin a good hike. They are often due to heat, moisture, and friction. When you walk a lot, your feet get hot. Heat makes them sweat. Sweat creates wetness inside your boots or shoes.
This is the perfect setting for blisters to form.
Friction happens when skin rubs against something else over and over again. This could be the inside of your boot or even a sock rubbing the wrong way. Pressure caused by tight shoes or boots can also cause this skin damage.
Ill-fitting footwear is another culprit in causing foot pain and blisters during hiking trips. Boots that don’t fit right may rub certain spots on your feet more than others, leading to discomfort and potential blistering.
Sometimes pesky things like stones, pine needles or dust sneak into our boots too! These can scrape our skin causing abrasion blisters.
So keep an eye out for signs of irritation when you hike! Stopping any of these causes early will help prevent bad blisters on hikes later.
How blisters form
Blisters form on our feet when they get hot, wet and rubbed a lot. As we hike, our shoes or socks rub against our skin. This makes heat and pressure build up on the foot. Too much heat turns sweat into moisture inside the shoe.
The moisture then softens the skin on our feet which can lead to friction burns or sores from rubbing too much against shoes or socks. These sore spots fill with fluid and turn into blisters over time.
I like to think of it as my body’s way of trying to cushion an area that gets hurt by many tiny hits being repeated over and over again during hikes.
Comprehensive Guide on Preventing Blisters and Injuries on Hikes
To stop blisters on your hikes, you need the right shoe size. Hiking shoes should be half or full size bigger. This is because our feet swell when we walk a lot. Hiking in boots that are too small will make your foot hurt and blisters form.
Also, socks can help keep your feet safe from blisters. Thin liner socks go under hiking socks to stop rubbing and hot spots from forming. A hot spot is a warm patch of skin that feels painful to touch.
So if it hurts, cover the spot straight away before it turns into a blister.
Cuts and joint pain can also happen during hikes. To avoid these injuries, always walk carefully and watch where you’re going! Be sure to bring along first aid stuff for cuts and sore joints just in case.
Tips for Preventing Blisters While Hiking
To prevent blisters while hiking, make sure to buy footwear that fits properly, keep your feet dry and use antiperspirants, and utilize tape and techniques to prevent friction.
Buy properly fitting footwear
Properly fitting footwear is crucial when it comes to preventing blisters while hiking. Shoes that don’t fit well can increase the chances of getting blisters on your feet. To make sure you have the right size, it’s important to visit a reputable outdoor store where they can help you find hiking shoes that fit perfectly.
Spending time trying on different pairs and choosing the ones that feel comfortable can go a long way in preventing blisters. So, remember to invest in properly fitting hiking boots to keep your feet happy and blister-free on your hikes!
Keep feet dry and use antiperspirants
To prevent blisters and injuries while hiking, it’s important to keep your feet dry and use antiperspirants. Moisture can increase the friction between your feet and shoes, leading to blisters.
To combat this, make sure to wear properly fitting footwear that protects and keeps your feet dry. Additionally, using moisture-wicking socks can help draw sweat away from your feet.
Another helpful tip is to apply antiperspirant on clean, dry feet just before bedtime. This reduces sweating during the hike and helps control moisture buildup in your shoes. Remember to wear a clean pair of thin socks over the antiperspirant for optimal results.
Use tape and techniques to prevent blisters
As a hiking enthusiast, I understand the importance of preventing blisters while hitting the trails. That’s why I always make sure to use tape and specific techniques to keep my feet blister-free. Here are some tips that have worked wonders for me:
- Pre-applying blister prevention tape: Before heading out on a hike, I always take the time to apply blister prevention tape to areas on my feet that are prone to blisters. This helps create a barrier between my skin and my shoes, reducing friction and preventing blisters from forming.
- Using moleskin tape: One type of tape that has been particularly effective for me is moleskin tape. This thick, adhesive-backed material provides extra padding and protection for hot spots and areas susceptible to blisters. Simply cut a piece of moleskin tape to fit the affected area and apply it before putting on your socks and boots.
- Choosing the right taping technique: In addition to using blister prevention tape, it’s important to choose the proper taping technique. One method that has worked well for me is called “Figure-Eight Taping.” Essentially, this involves wrapping the tape in a figure-eight pattern around your toes or other areas prone to blisters. The figure-eight pattern helps distribute pressure evenly and reduces friction.
- Wearing liner socks: Another tip for preventing blisters is wearing liner socks underneath your hiking socks. Liner socks are typically thin and made from moisture-wicking materials, which helps keep your feet dry and reduces friction. The combination of liner socks and thicker hiking socks creates an added layer of protection against blisters.
- Adjusting footwear properly: Ensuring that your boots or shoes fit properly is crucial in preventing blisters. Ill-fitting footwear can lead to excessive friction and rubbing, causing blisters to form. Take the time to adjust the laces properly, making sure they’re not too tight or too loose.
Letting Feet Heal and Dry Out
After a long hike, it’s important to let your feet heal and dry out properly. Discover why this step is crucial and learn some effective ways to promote healing and prevent further damage.
Don’t miss out on these essential tips for maintaining healthy feet on the trails!
Importance of allowing feet to heal
Allowing your feet to heal after a hike is extremely important in preventing blisters and injuries. When you give your feet time to rest and recover, it helps them rebuild and strengthen the skin, reducing the risk of blisters forming on your next hike.
It’s also essential for any existing blisters to heal properly without being aggravated by further friction or pressure. By allowing your feet to heal and dry out, you’re giving them the chance to recover fully so that you can enjoy future hikes without discomfort or pain.
Drying out feet after hikes
After a long hike, it’s important to let your feet heal and dry out properly. Here are some tips:
- Remove your shoes and socks to allow air circulation around your feet.
- Gently wash your feet with warm water and mild soap to remove any dirt or sweat.
- Pat your feet dry with a clean towel, making sure to get between the toes.
- Apply a moisturizer or foot cream to keep your skin hydrated.
- If possible, elevate your feet for a while to reduce swelling and promote circulation.
Proper Foot Care and Maintenance
Regularly trimming toenails, keeping feet clean and moisturized, and wearing appropriate socks are essential for preventing blisters and injuries on hikes. Taking care of your feet is crucial in ensuring a comfortable and enjoyable hiking experience.
Read more to discover effective foot care techniques for your next adventure!
Regularly trimming toenails
Proper foot care and maintenance is crucial for hikers, and one important aspect of this is regularly trimming toenails. When hiking, it’s recommended to trim your toenails straight across, ensuring they are even with the tips of your toes.
This helps prevent blisters and injuries by eliminating sharp edges that can cause discomfort or pain while walking. Long toenails can also be problematic during descents as they may bruise or cut into the toes.
Additionally, keeping your toenails short helps prevent fungal infections that could occur during hiking trips. By taking the time to regularly trim your toenails, you can protect your feet and ensure a more comfortable hiking experience.
Keeping feet clean and moisturized
Proper foot care and maintenance is crucial for preventing blisters and injuries while hiking. One important aspect of this is keeping your feet clean and moisturized. Washing your feet daily with cold water can provide relief, especially on hot summer days.
Additionally, using a moisturizer can help prevent dryness and keep your feet healthy. Hygiene plays a vital role in blister prevention, so make sure to take the time to properly care for your feet before and after each hike.
Wearing appropriate socks
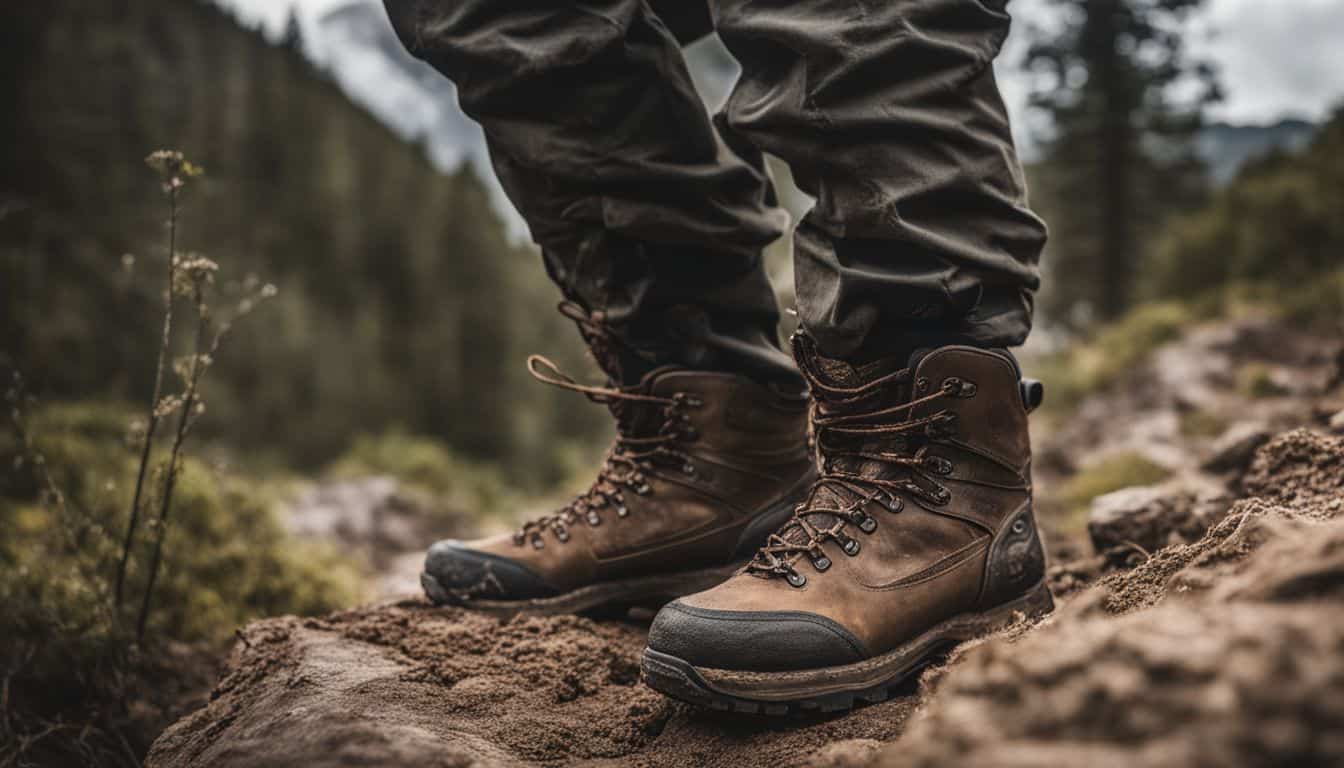
Choosing the right socks is crucial for preventing blisters and injuries while hiking. Good quality socks made of wool or synthetic fibers are recommended as they provide moisture control and reduce friction inside your boots.
Look for well-designed hiking socks that offer cushioning and support in key areas, like the heels and toes. Wearing moisture-wicking socks made of natural fibers, such as merino wool, can help keep your feet dry and comfortable throughout your hike.
Remember to wear your socks inside out to prevent any stitching from rubbing against your toenails, which could cause pain during long hikes.
It’s important to keep in mind that wearing appropriate socks is just as essential as choosing the right footwear when it comes to foot care on hikes. So make sure you invest in good quality materials that prioritize comfort, moisture control, and toe protection.
Treating Hot Spots
To effectively treat hot spots on the feet while hiking, it is important to identify them early and take immediate action.
Identifying hot spots on the feet
Hot spots are red and tender areas on the skin that can happen when you’re hiking. They come before blisters form. These hot spots usually show up in places where your feet rub against your hiking boots or socks.
So, it’s important to pay attention to any redness or discomfort you feel on your feet. Catching hot spots early is key to preventing them from turning into painful blisters later on.
Techniques for treating hot spots
Treating hot spots is important to prevent blisters and injuries while hiking. Here are some techniques that can help:
- Clean the area: Before treating a hot spot, make sure to clean it with mild soap and water. This helps remove dirt and bacteria.
- Apply a protective barrier: After cleaning, apply a thin layer of petroleum jelly or a blister prevention stick on the hot spot. This creates a barrier between the skin and footwear, reducing friction.
- Use moleskin or tape: Cut a piece of moleskin or adhesive tape slightly larger than the hot spot. Place it directly over the area to provide cushioning and prevent further irritation.
- Replace socks: If your socks are damp or sweaty, consider changing into dry ones during breaks on long hikes. Moisture can increase friction and lead to blisters.
- Take regular breaks: Resting periodically allows your feet to breathe and reduces pressure on certain areas. It also gives you an opportunity to check for any developing hot spots.
Treating Blisters
To properly treat blisters, it is important to clean the affected area with mild soap and water, then apply a sterile dressing or blister pad to protect it from further friction and irritation.
Proper blister care and treatment
When it comes to taking care of blisters on your feet during hikes, there are a few important things to remember. First, it’s essential to keep the blister clean and dry by gently washing it with soap and water.
Then, apply an antibiotic ointment to prevent infection and cover it with a sterile bandage or dressing. Avoid popping the blister unless absolutely necessary, as this can increase the risk of infection.
If you do need to pop the blister, make sure to use a sterilized needle or pin and clean the area around it with rubbing alcohol first. Lastly, make sure to change the bandage daily and monitor for any signs of infection such as increased pain, redness, or pus.
Popping blisters safely
When it comes to popping blisters safely, it’s important to prioritize cleanliness and safety. If a blister needs to be popped, make sure to use something sterile, like a knife blade, to avoid infection.
Gently pierce the blister and massage out the fluid without removing the intact skin. This will help protect the area from further irritation. After draining the fluid, cover the blister with a dressing and secure it in place with medical tape.
It’s recommended to use medical tape instead of alternatives like leukotape or duct tape for better adherence. Remember that you should only pop a blister if necessary because the cushion of fluid inside actually helps protect the damaged skin.
Creating a Blister First Aid Kit
Creating a Blister First Aid Kit is essential for any hiker, as it ensures you have the necessary supplies to treat blisters on the trail and prevent further discomfort.
Essential items to include
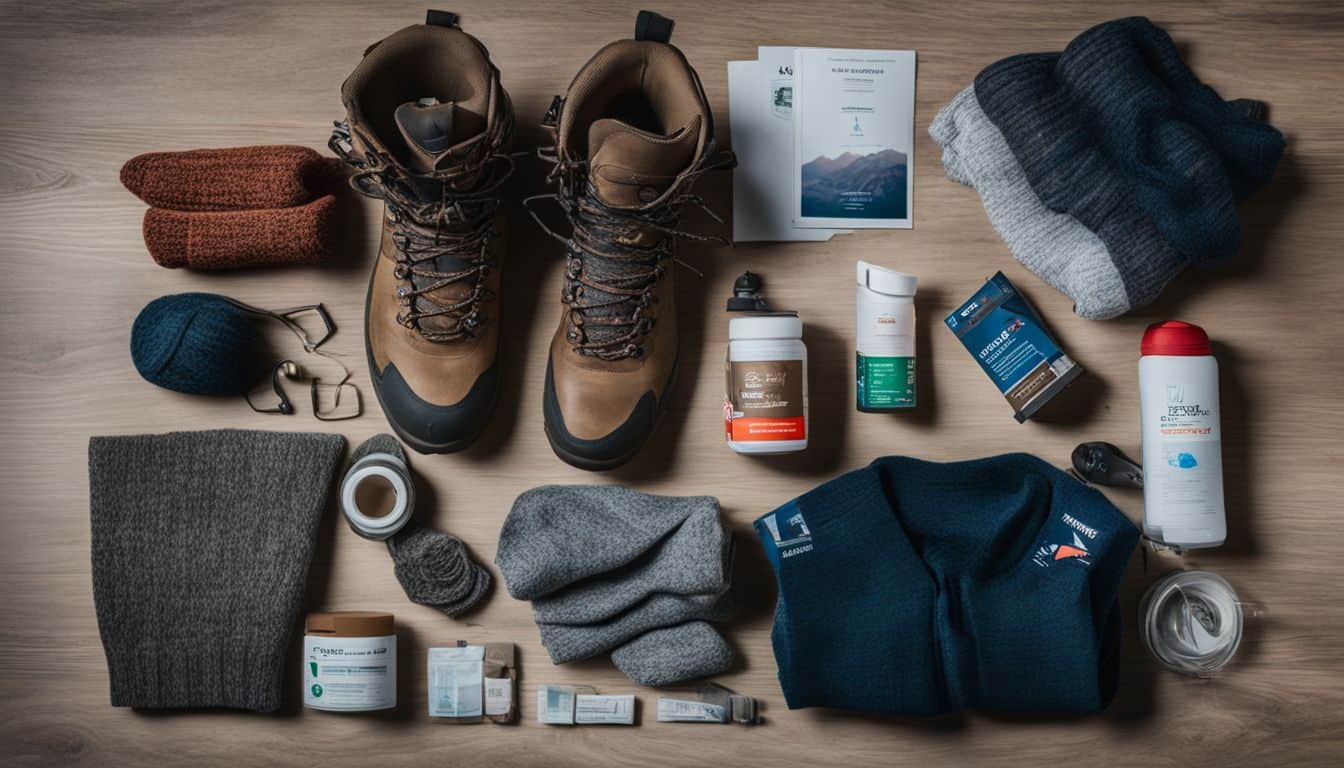
When packing your blister first aid kit for hiking, it is important to include these essential items:
- Antibiotic ointment: This helps prevent infection in case of open blisters.
- Gauze: Use this to cover and protect larger or popped blisters.
- Band-Aids: These can be used to cover smaller blisters or hot spots.
- Molefoam: Cut a piece with a hole in the center for dressing and protecting blisters.
- Blister bandages: These special bandages provide extra cushioning and protection for blisters.
- Medical tape: Use this to secure gauze, bandages, or other dressings in place.
- Alcohol wipes: Use these to clean the affected area before applying any ointments or dressings.
- Moleskin patches: Apply these over areas prone to friction to prevent blisters from forming.
Importance of carrying a first aid kit
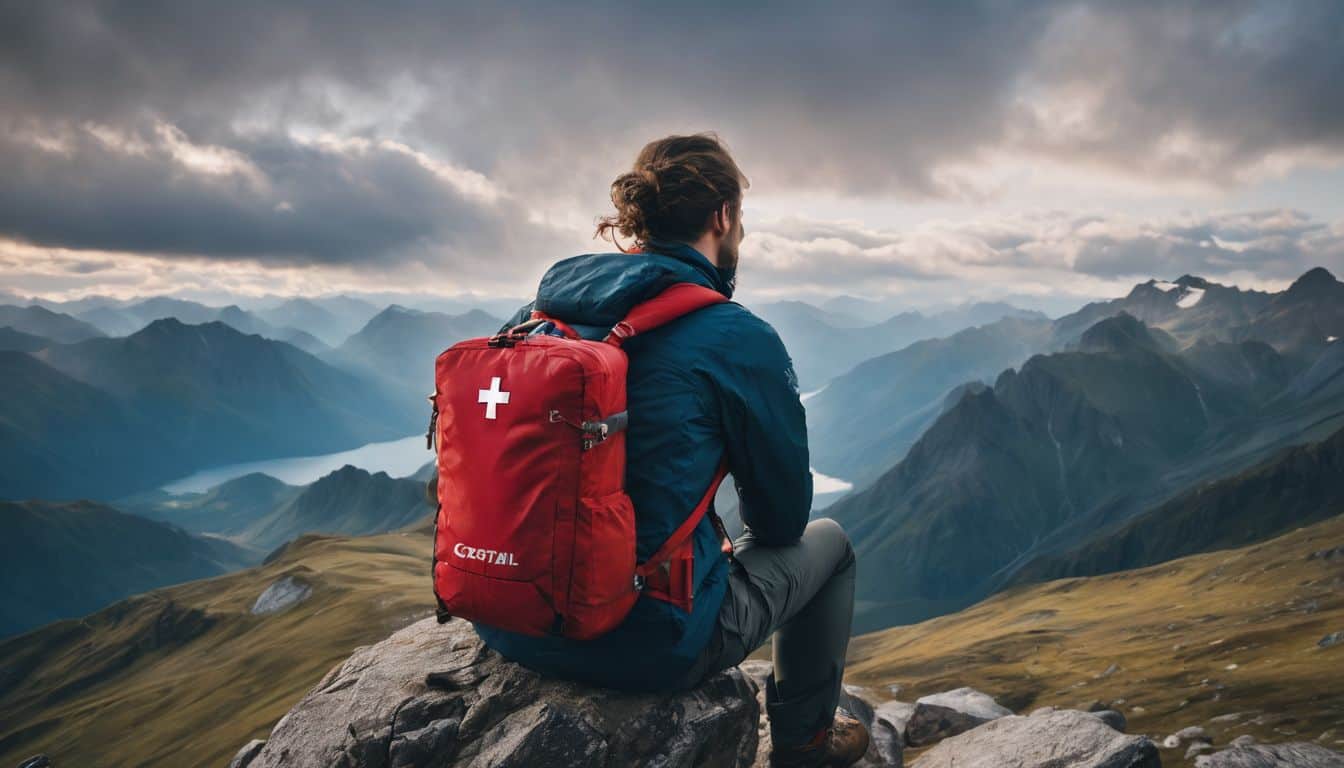
Carrying a first aid kit is really important when you go hiking. It helps you prevent and treat blisters, which can make your hike uncomfortable and painful. Having a small medical kit in your backpack can be a lifesaver, especially if you’re far away from help.
You don’t need to spend a lot of money on it – there are prepackaged kits available that contain all the necessary items for treating blisters and other injuries. So, make sure to include a first aid kit in your hiking gear to avoid further injury and discomfort while enjoying the great outdoors!
Importance of Proper Hiking Techniques
Proper hiking techniques are essential for preventing blisters and injuries, including choosing the right footwear and socks, adjusting and lacing boots properly, and using a skin lubricant to reduce friction.
Choosing the right footwear and socks
When it comes to preventing blisters while hiking, choosing the right footwear and socks is essential. Investing in well-designed hiking socks can help reduce friction and prevent blisters from forming.
It’s important to avoid cotton socks as they retain moisture, which can lead to blister-causing friction. Instead, opt for synthetic or wool socks that wick sweat away from your feet, keeping them dry on the trail.
Additionally, investing in quality hiking boots or shoes that fit properly is crucial for blister prevention. By selecting footwear with good arch support and enough room for your toes to move freely, you can minimize the risk of blisters and enjoy a comfortable hike.
Adjusting and lacing boots properly
When it comes to hiking, adjusting and lacing your boots properly is essential for preventing blisters and injuries. One common technique is crisscrossing, where you alternate the laces from one side to the other as you go up.
By doing this, you can achieve a snug fit that prevents pressure points and wandering heels. It’s also important to retying your boot laces during a hike if you start feeling slippage or discomfort.
This will alleviate any friction that could lead to blisters. Additionally, if you have wide feet, there are specific lacing techniques that can provide better comfort and help prevent blisters from forming.
Using a skin lubricant
Using a skin lubricant can be really helpful when preventing blisters and chafing on hikes. It works by reducing friction between your feet and the inside of your shoes, which ultimately prevents discomfort and blister formation.
Skin anti-friction lubricants like BodyGlide, Monistat, or Lanacane are great options to consider. You can also use Vaseline as it’s commonly recommended for preventing blisters during hiking.
These products create a protective barrier that keeps your skin moisturized and reduces the chances of chafing or blister development. So don’t forget to apply some before heading out on your next hike!
Conclusion on Preventing Blisters And Injuries On Hikes
In summary, preventing blisters and injuries while hiking is essential for a comfortable and enjoyable outdoor experience. By following these three tips – wearing properly fitting footwear, keeping feet dry and using antiperspirants, and utilizing tape and techniques to prevent blisters – hikers can minimize the risk of painful blisters.
Taking care of hot spots promptly, treating blisters correctly, maintaining foot hygiene, and practicing proper hiking techniques are also crucial in preventing discomfort and injuries on hikes.
With these tips in mind, hikers can focus on the beauty of nature without worrying about blisters or injuries holding them back.
FAQs on Preventing Blisters And Injuries On Hikes
1. How can I prevent blisters while hiking?
You can prevent blisters by wearing proper-fitting boots or shoes, using moisture-wicking socks, and applying a protective layer of tape or blister prevention products on areas prone to friction.
2. What should I do if I get a blister during a hike?
If you get a blister during a hike, cover it with a bandage or moleskin to protect it from further irritation. Avoid popping the blister unless it is causing severe pain or discomfort.
3. How can I avoid injuries while hiking?
To avoid injuries while hiking, make sure to wear sturdy footwear with good ankle support, take breaks regularly to rest and hydrate, and be cautious when traversing uneven terrain or steep slopes.
4. Are there any stretches or warm-up exercises that can help prevent injuries on hikes?
Yes! Before starting your hike, perform simple stretches like calf raises and leg swings to warm up your muscles and increase flexibility. This can help reduce the risk of strains and sprains.
5. Is it important to bring a first aid kit on hikes?
Absolutely! Bringing a well-stocked first aid kit is essential for any hike as it allows you to treat minor injuries such as cuts, scrapes, insect bites, and burns promptly.

Leave a Reply